June 18, 2009

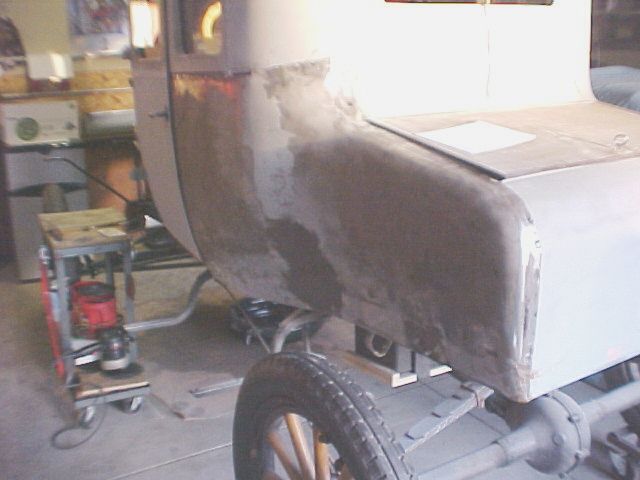
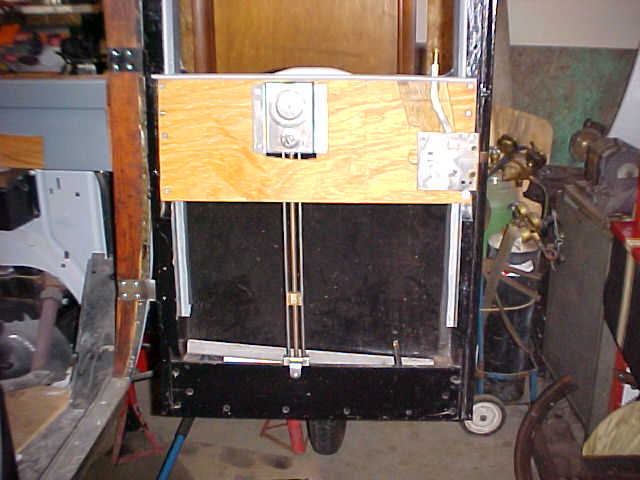
Filling the rear panel
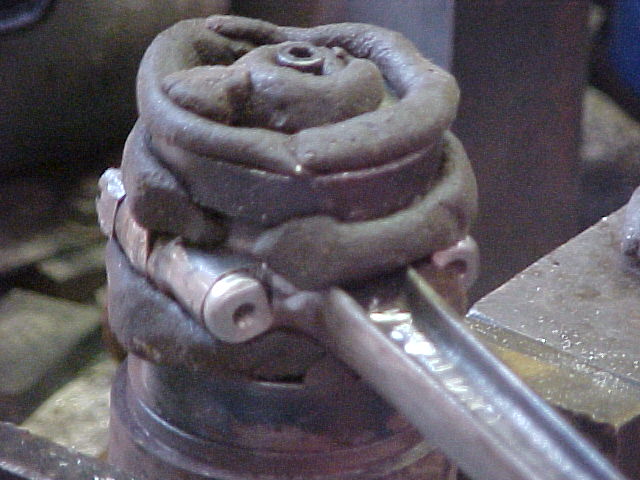
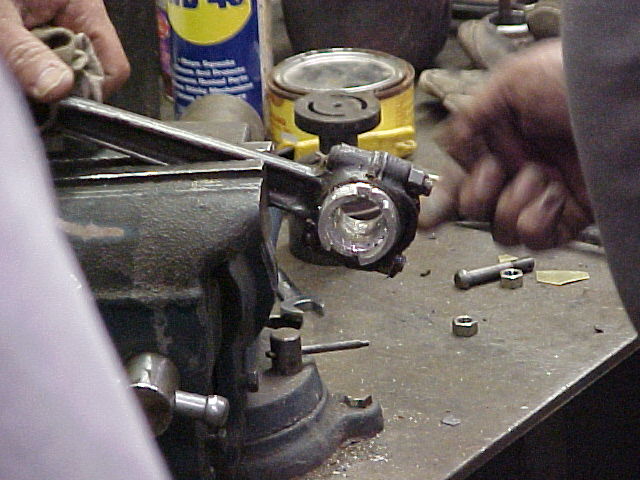
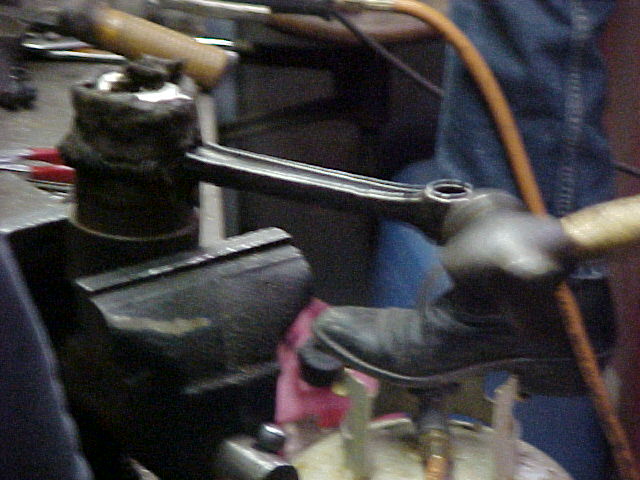
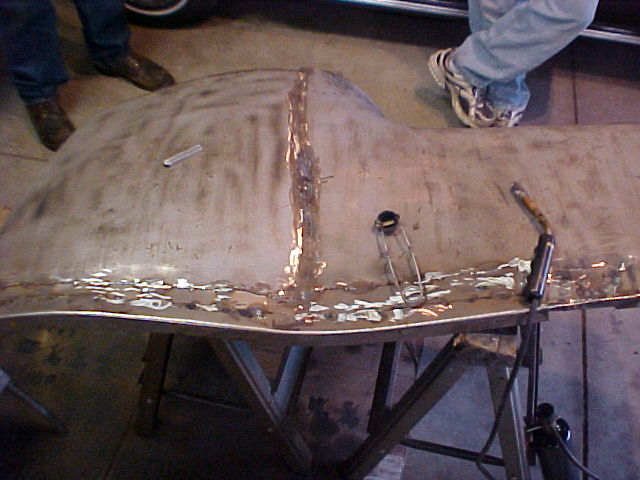
Close Up of Rod Dam
June 18, 2009
Filling the rear panel
Close Up of Rod Dam
June 11, 2009

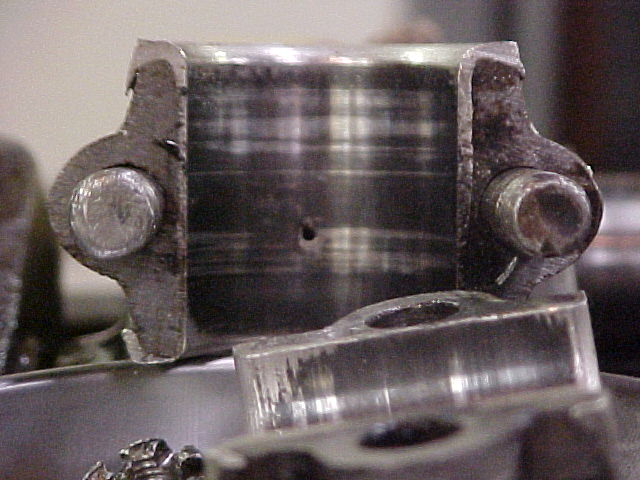
A better pour
Crack in the rod side
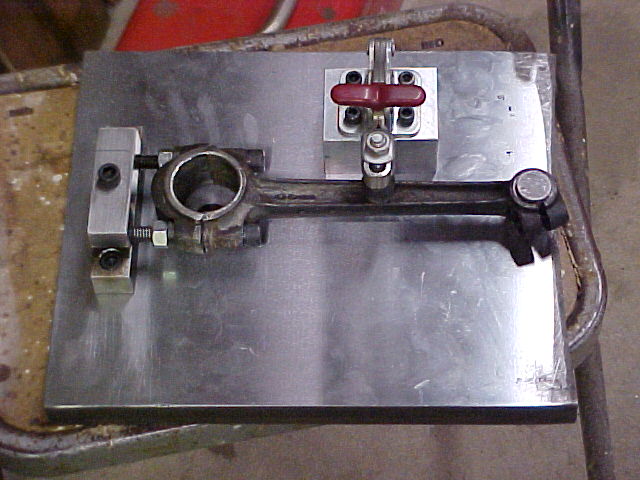
Building a boaring jig
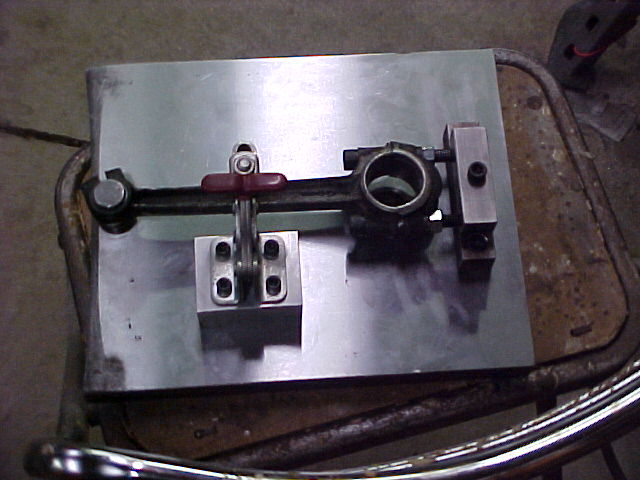
Boaring Jig
Lead complete, first coat of filler
Smoothing out the filler
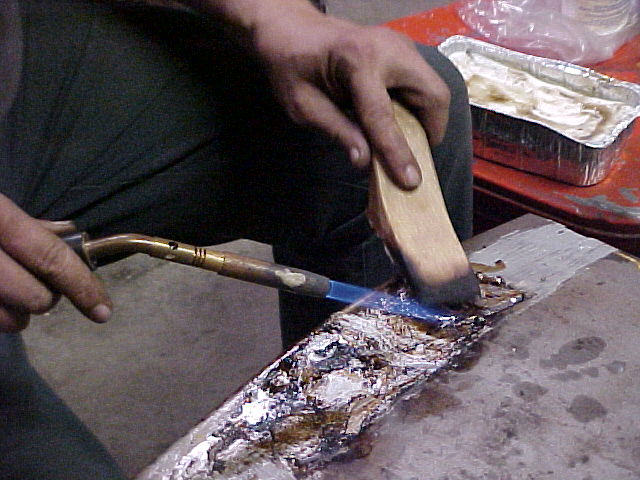
June 4, 2009

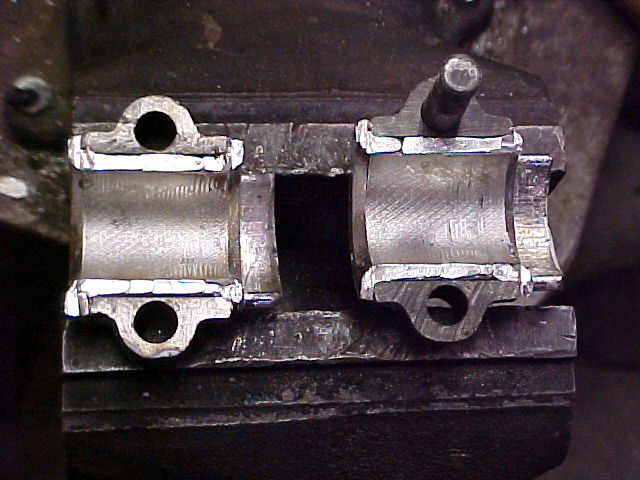
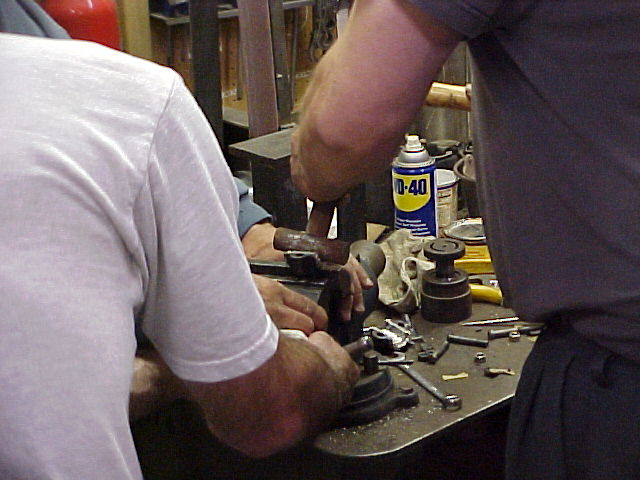
Preparing Rod cap for new babbitt

Heating the Rod Cap
Applying flux

Applying Flux
Cutting excess babbitt
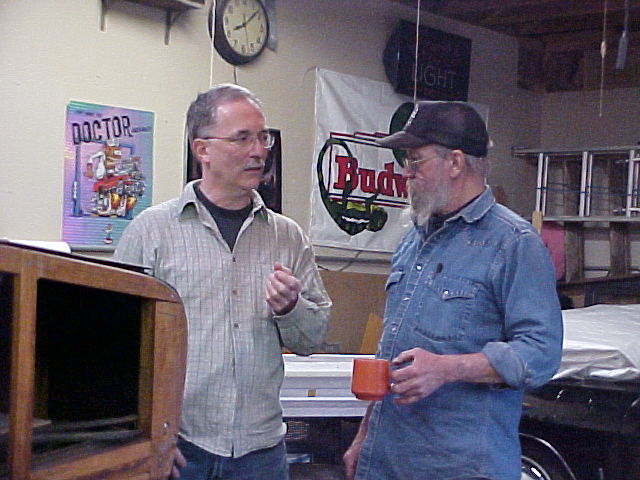
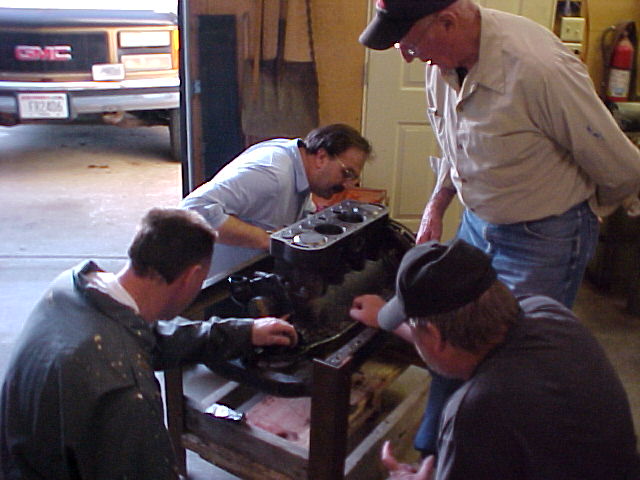
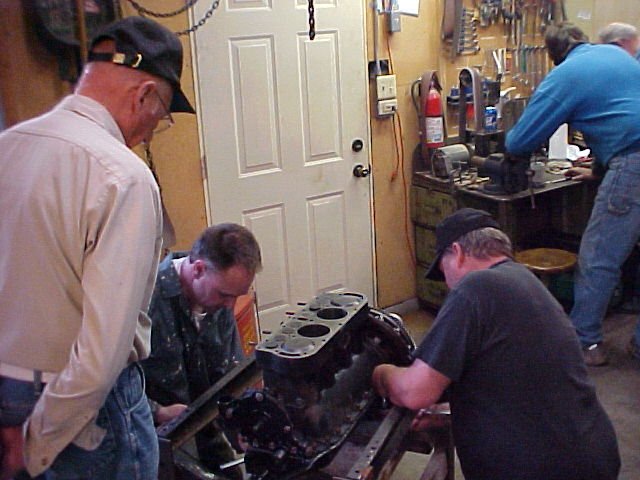
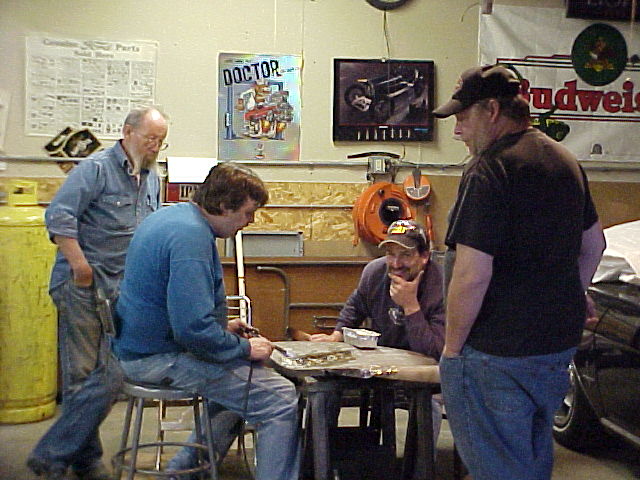
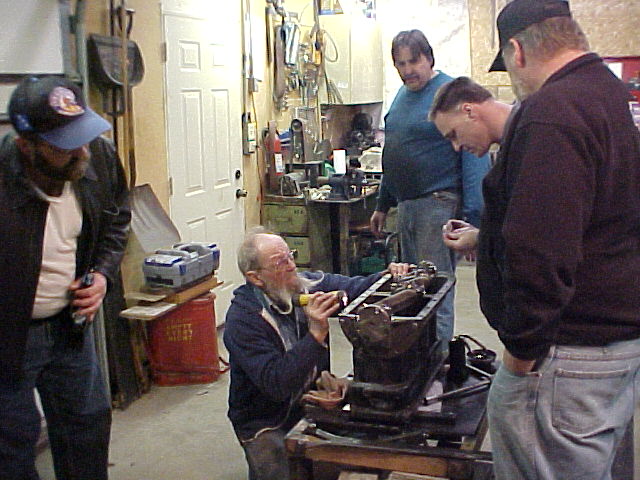
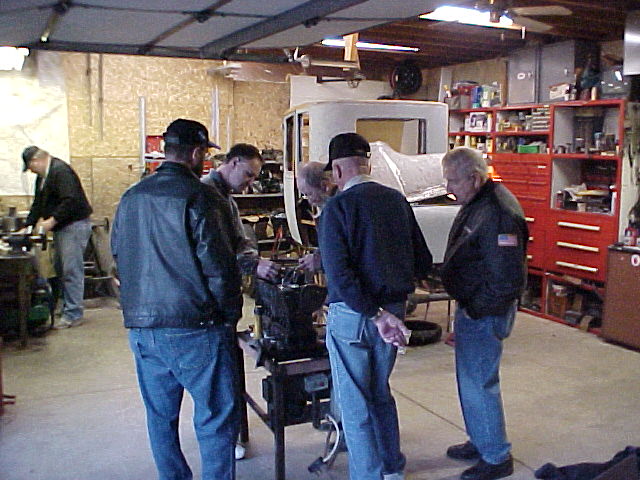
Ott and Bill discussing the issues

Kevin painting the backside of the rear panel
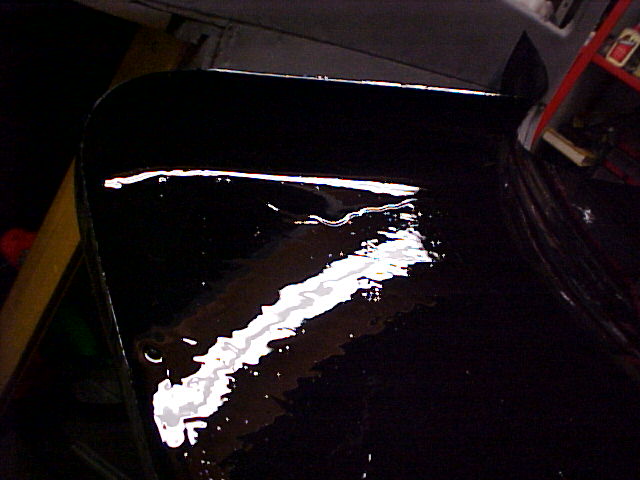
Paint can and will run
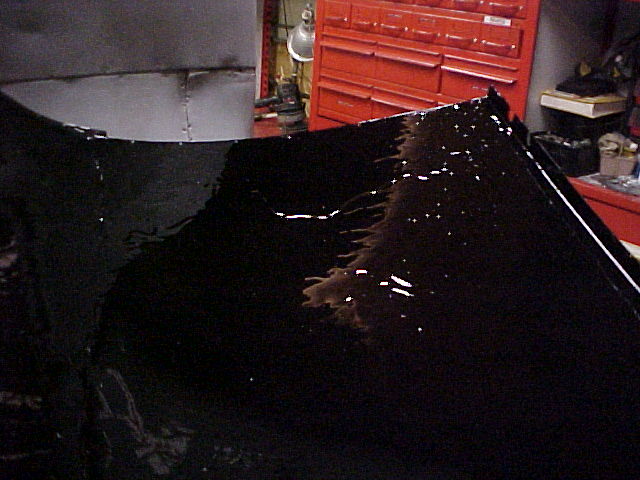
Paint can and will run
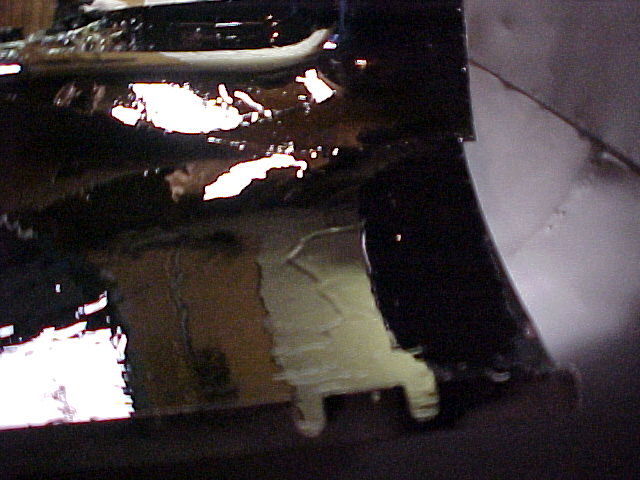
Paint can and will run
May 21, 2009
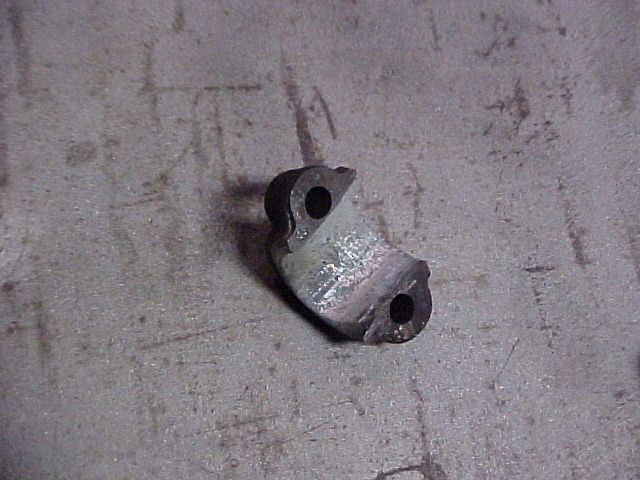
Rod cap ready for new babbitt
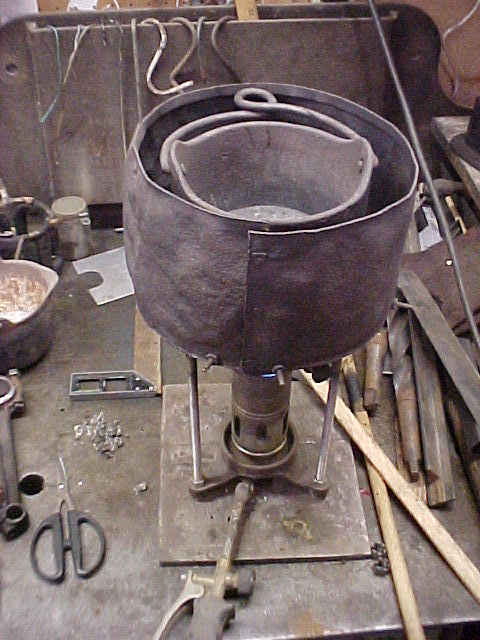
Furnace and Pot, heating the Babbitt
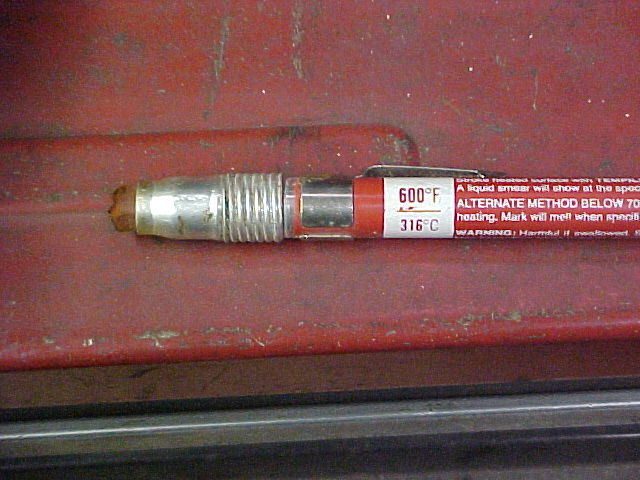
Temperature indicating pen

Alternate Temperature Testing Method
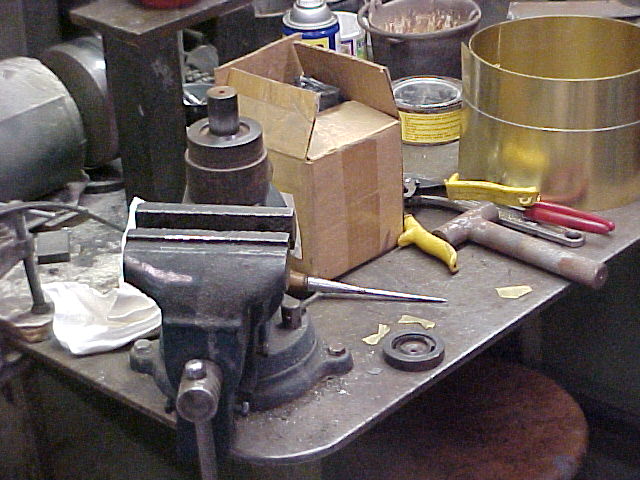
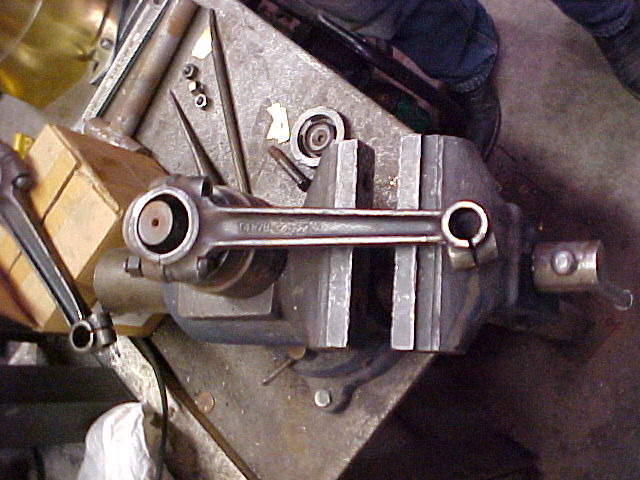
Jig used for pouring rod babbitt
Shims to help seperate rod and cap
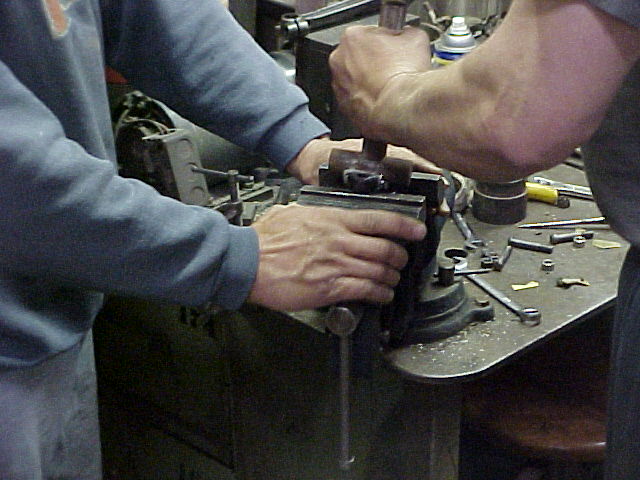
Jig used to pour new rod bearing Babbitt
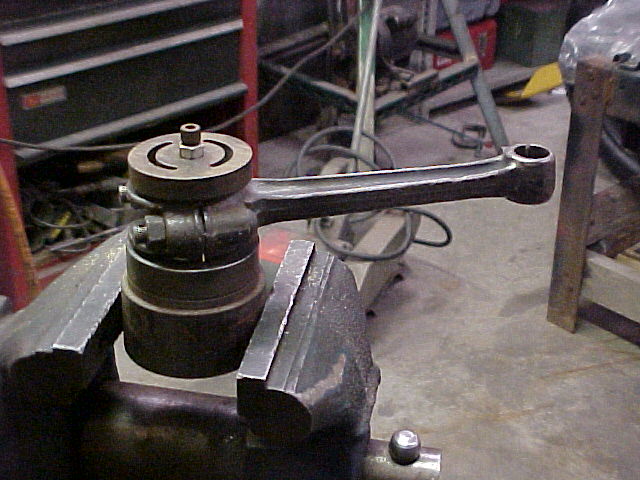
Rod placed in Jig

Daming jig leaks
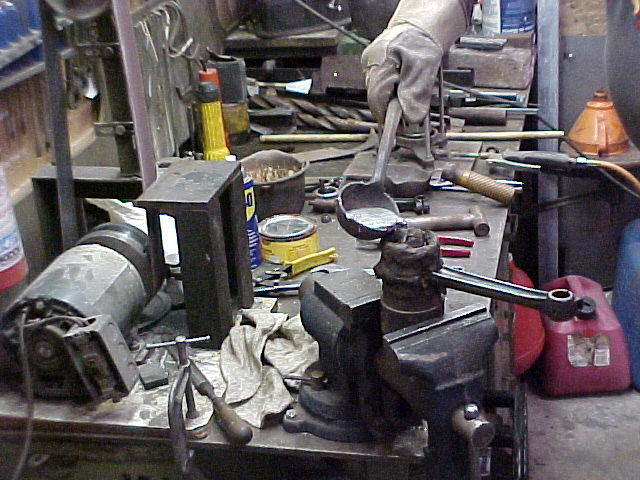
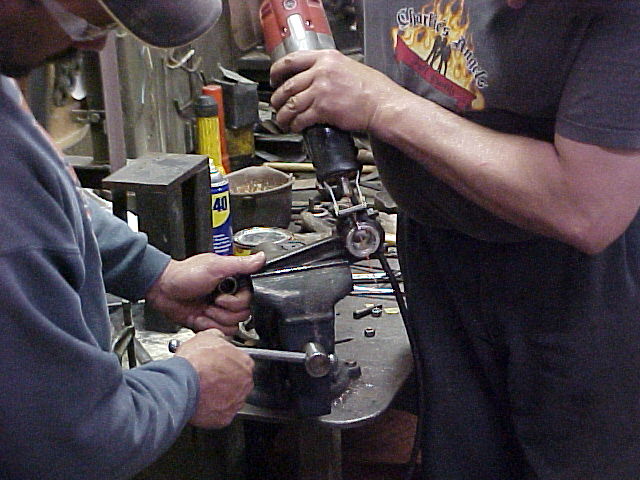
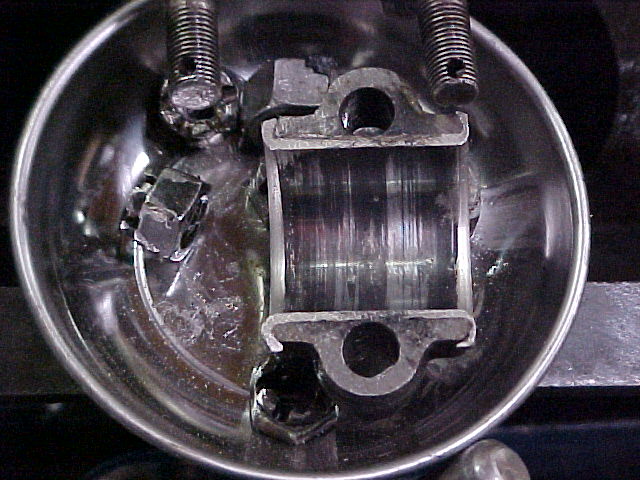
Pouring the Babbitt
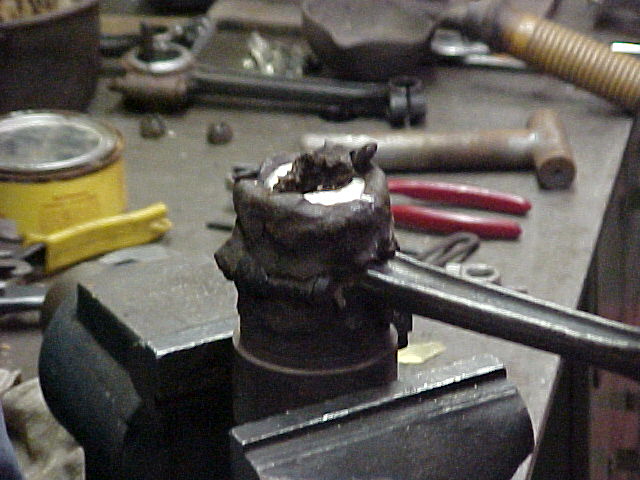
Completed Pour
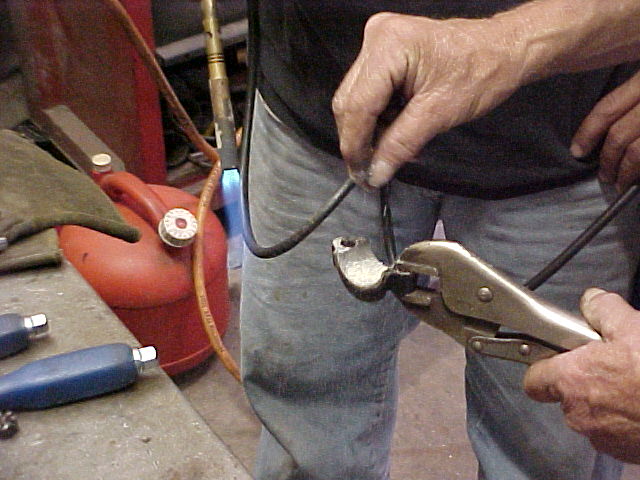
Removing excess babbitt
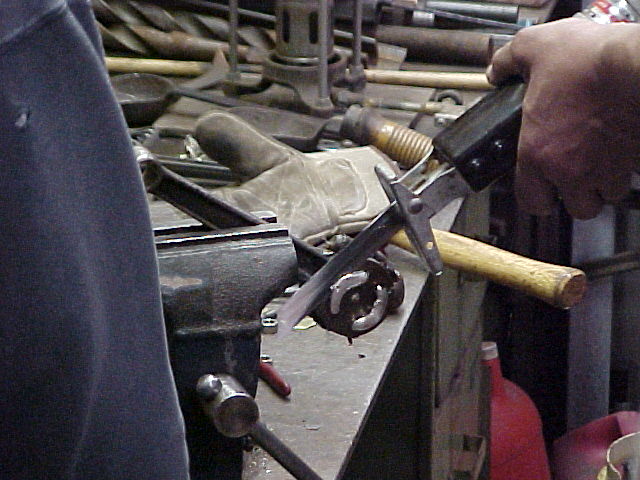
Removing excess babbitt
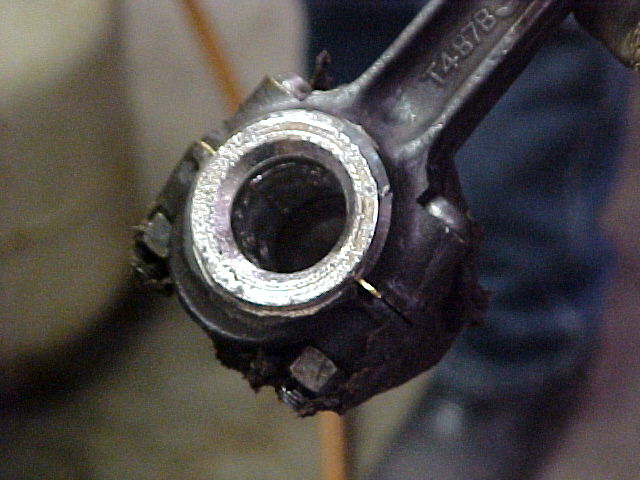
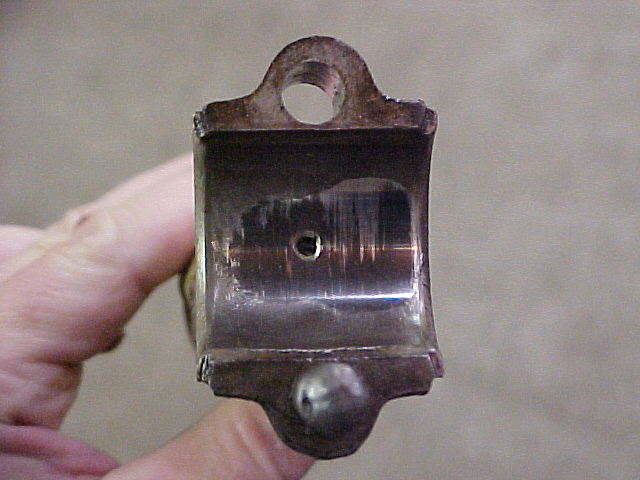
Completed Rod Pour
Completed Rod Pour
Loosening the rod from Jig
Compressing the new babbitt into the rod
Compressing the new babbitt into the rod
Raw Babbitt Bearing
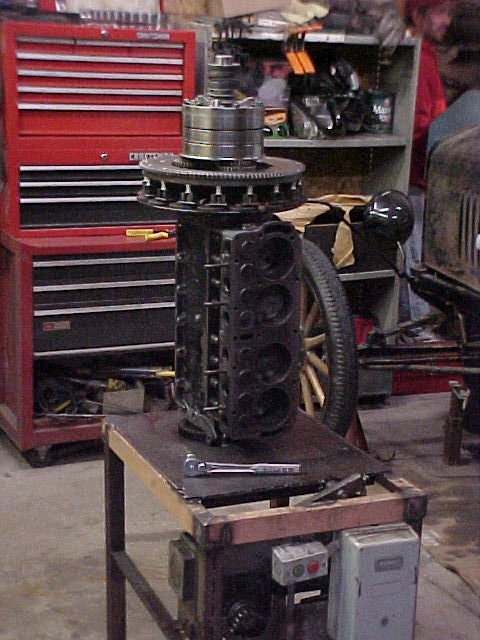
Kevins Completed Engine

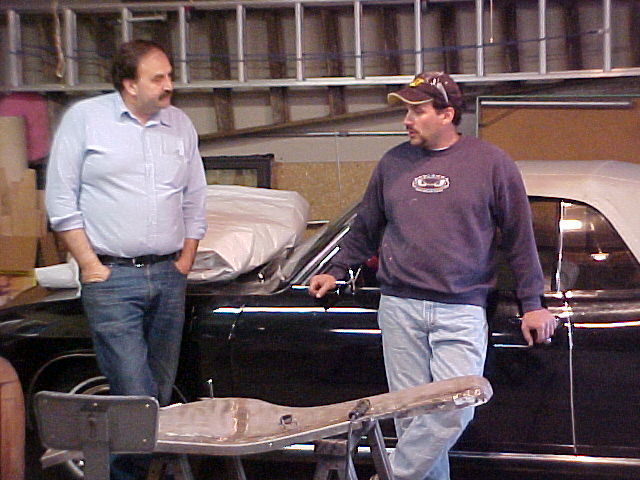
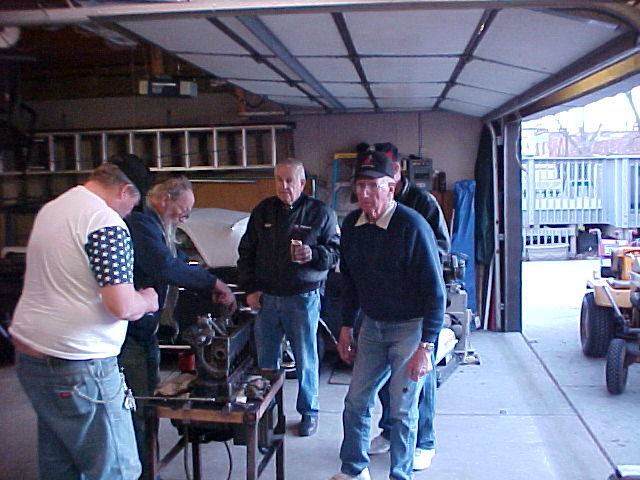
Kevin and Ott

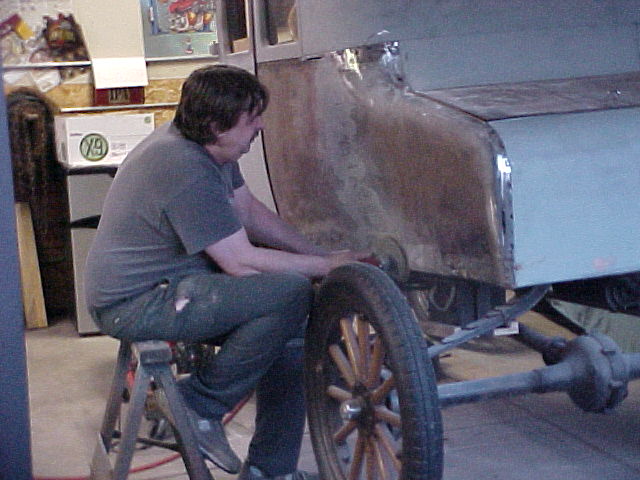
Leading the rear panel

Leading the rear panel
Leading the rear panel
May 14, 2009
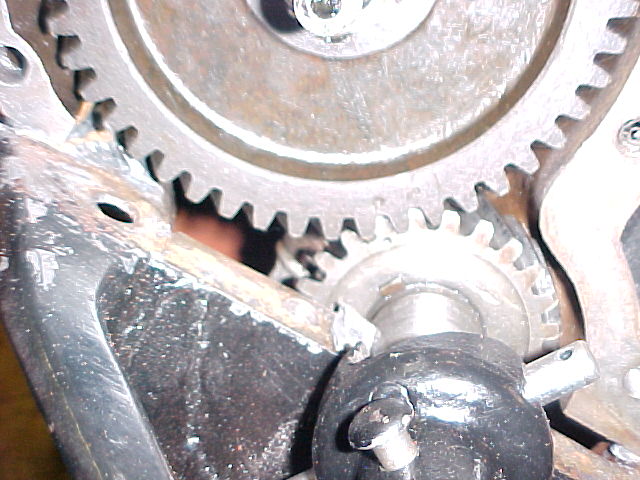
Two (Three) many timing marks
John and Maynard discussing wheels
May 5, 2009
Installing Hardware

Installing Hardware
Installing hardware
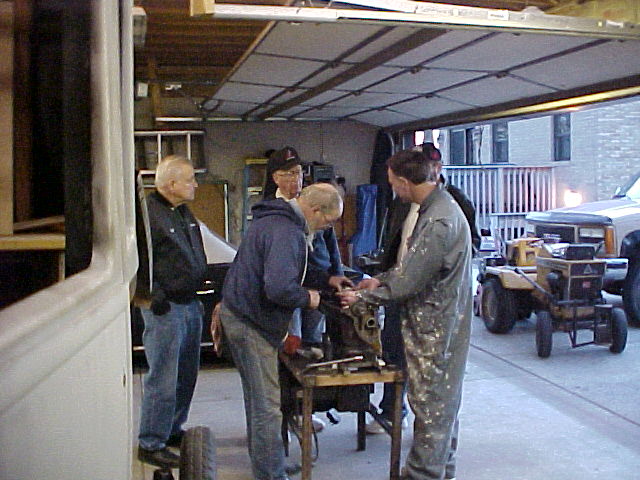
Lowell and John discuss Leading a panel

Installing the pulley
Panel to be leaded

Applying lead
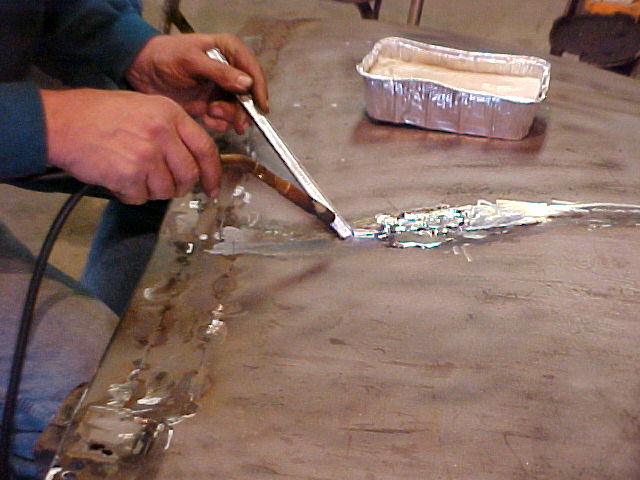
Applying lead

Applying lead
Applying lead

Lead on panel
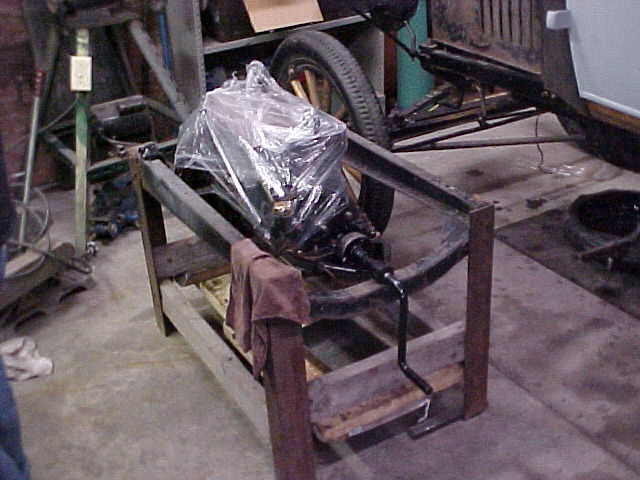
April 23, 2009
Installing the Transmission
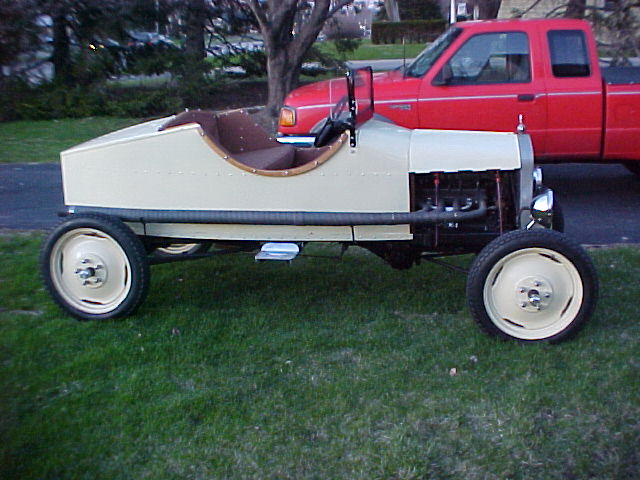
John's Speedster with new exhaust and interior
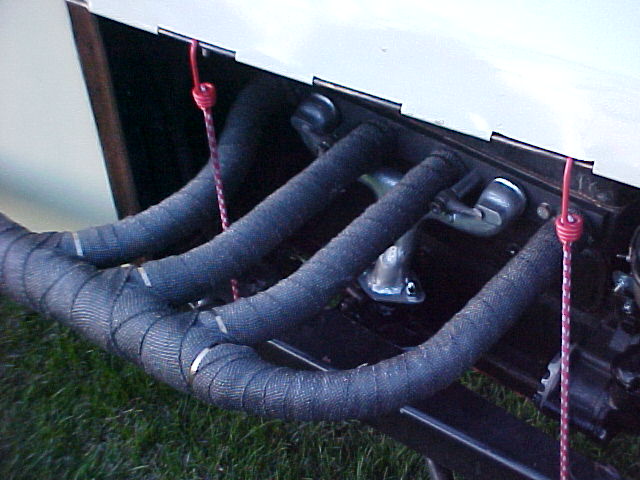
John's new exhaust system

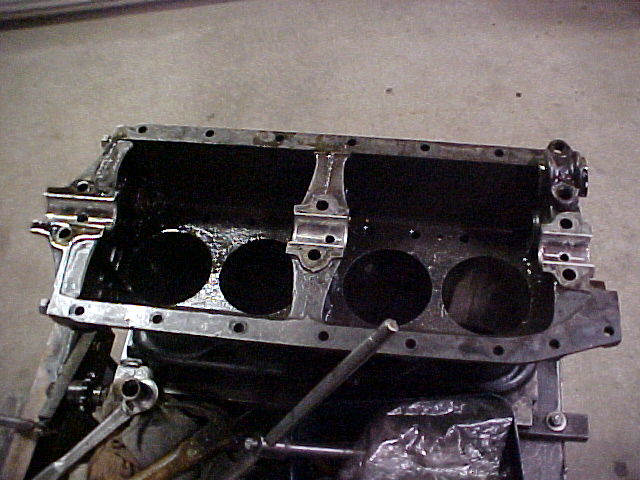
The Pan is ready for the Engine and Transmission
Magneto Repaired with Black Silicone
April 16, 2009
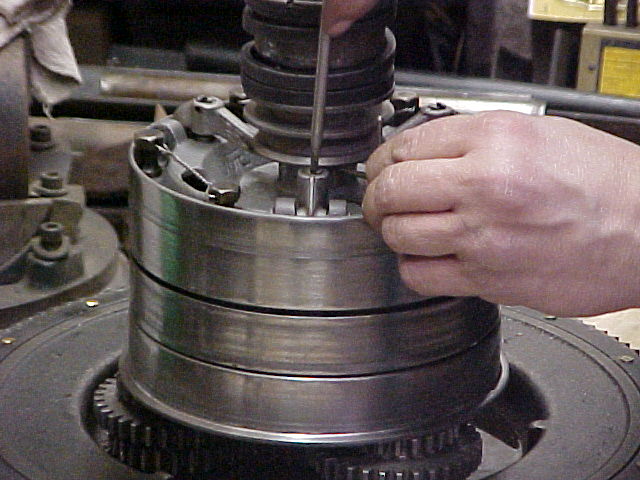
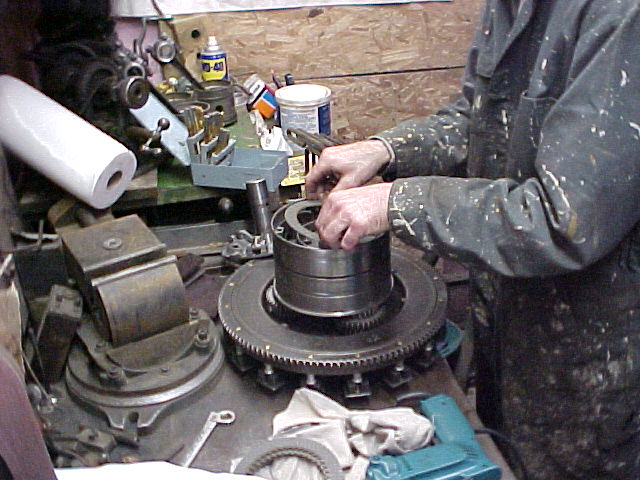
Adjusting the Clutch Pack
Adjusting the Clutch Pack

Adjusting the Clutch Pack
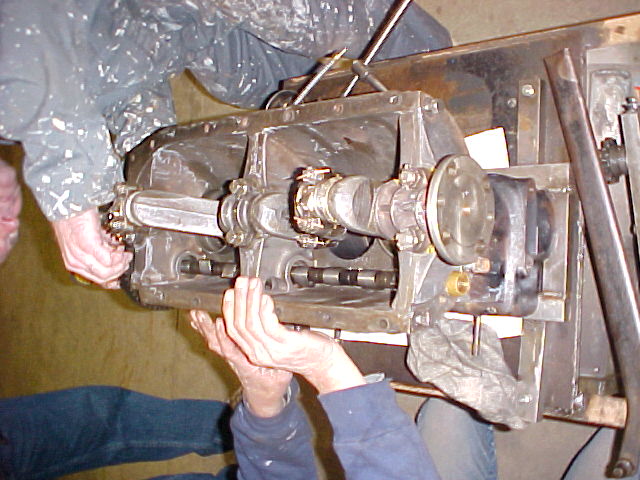
Re Installing the camshaft
Re Installing the camshaft

Re Installing the camshaft
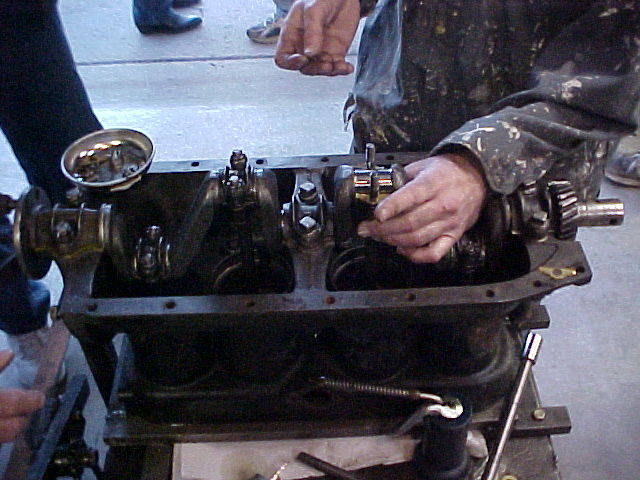
Installing the Rods
Installing the Rods

Installing the Rods
Installing the Rods
Installing the ROds
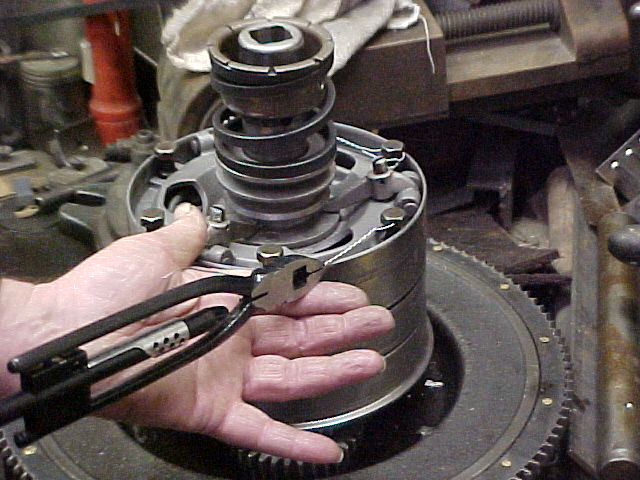
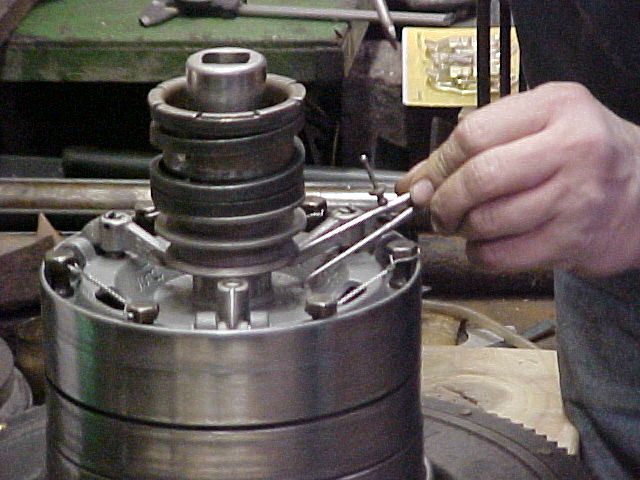
Safety wiring the clutch plate bolts

Twisting the safety wire
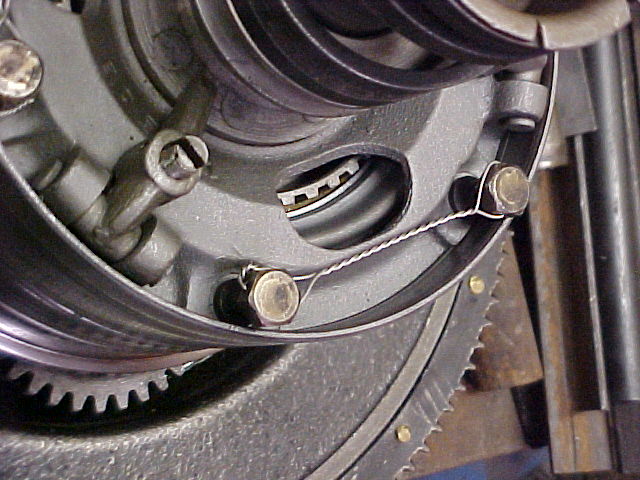
Proper installation of safety wire
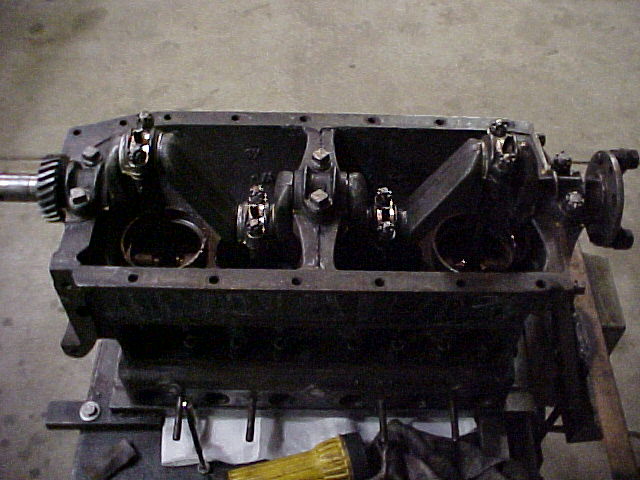
Rod and Main bearing are completed
April 9, 2009

New Slow Speed Drum
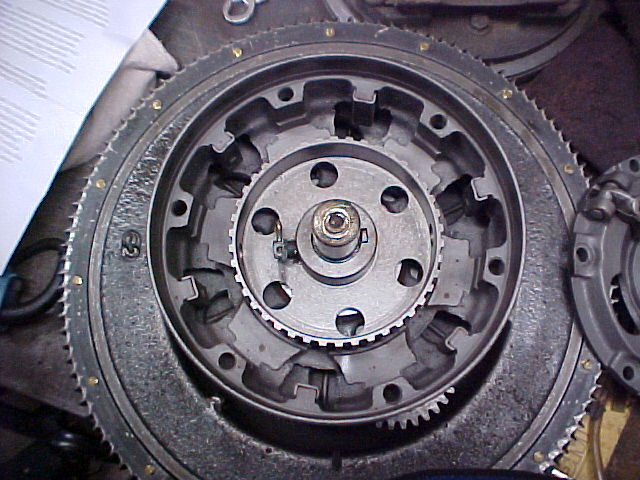
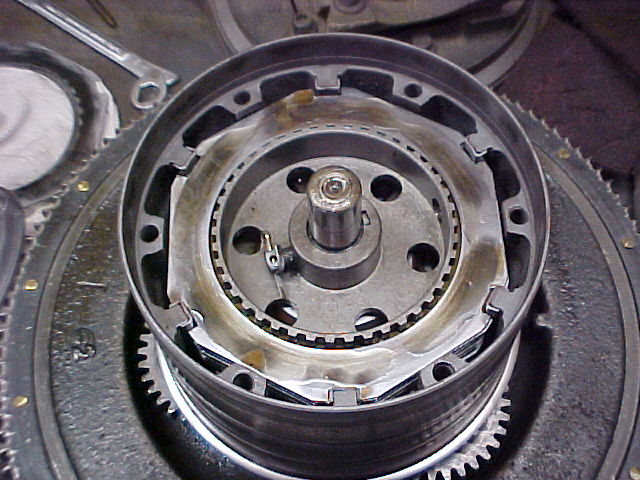
Clutch Pack cavity
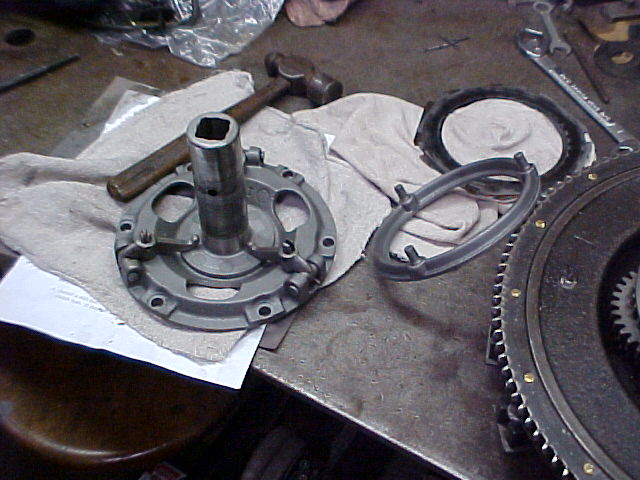
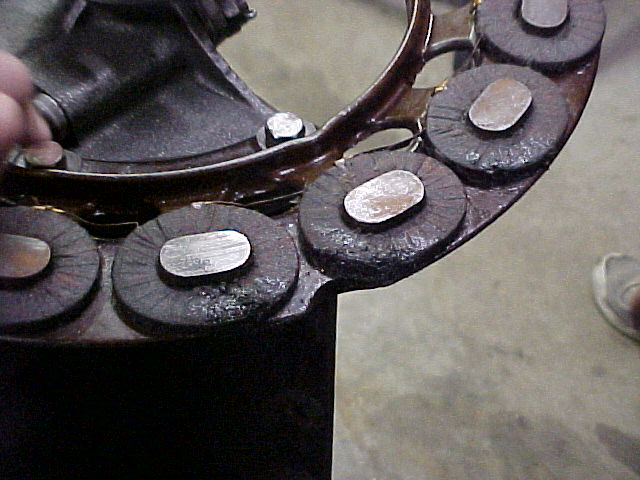
Clutch Plate
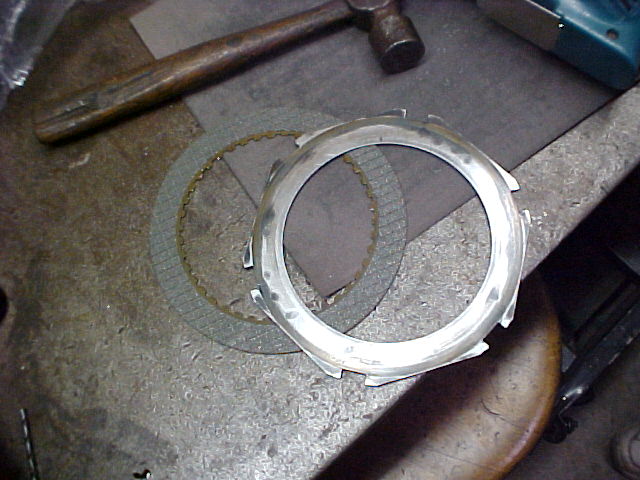
Modern clutch plate and old plate
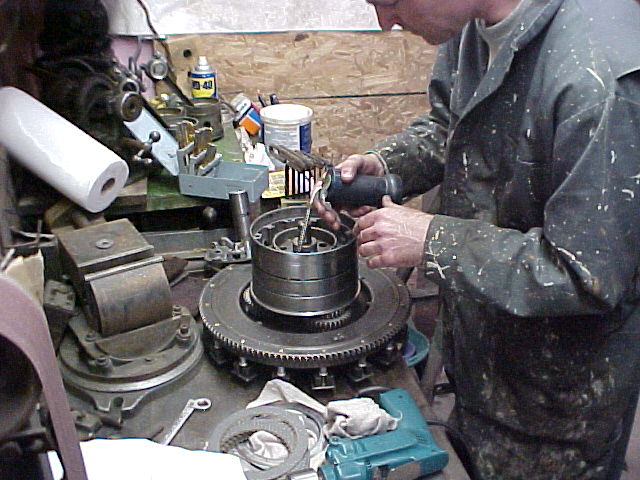
Installing the clutch plates

Installing the clutch plates

Installing the clutch plates
Installing the clutch plates
Following Instructions, Apply Oil Liberally
Bearing Run In complete
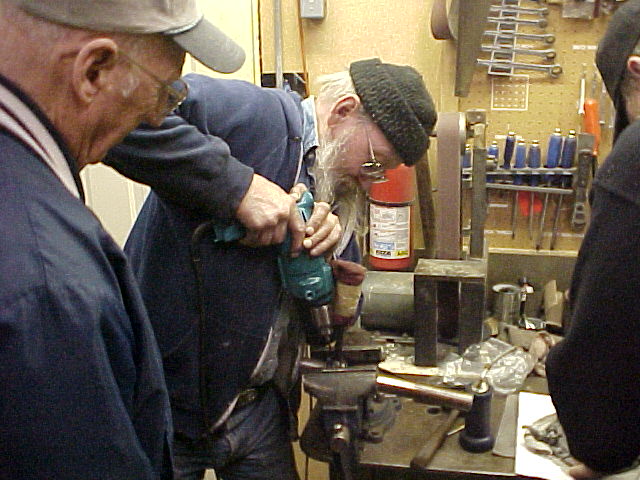
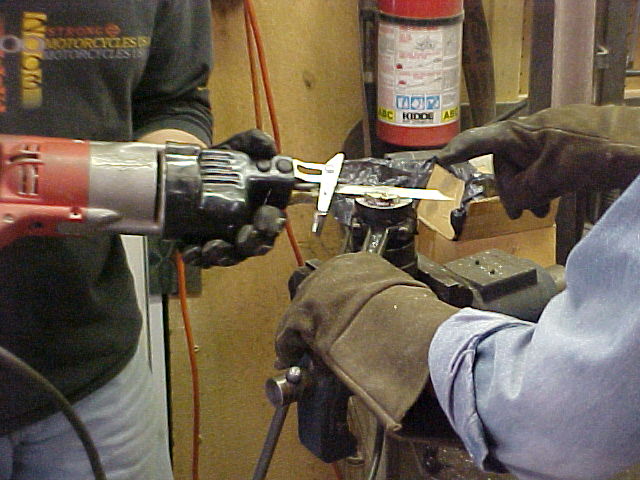
Drilling an Oil Hole in Rod
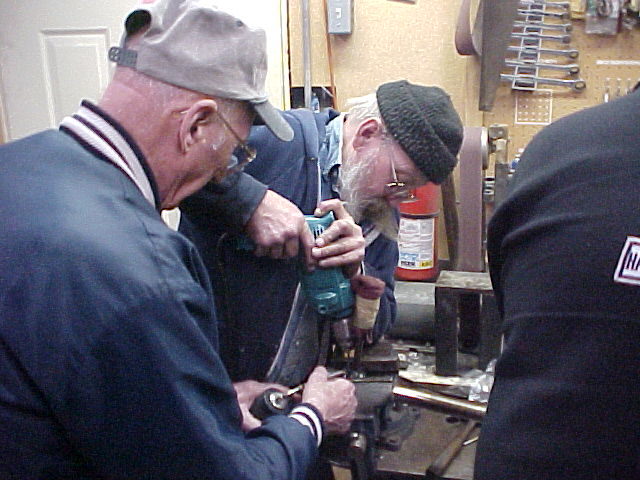
Drilling an Oil Hole in Rod
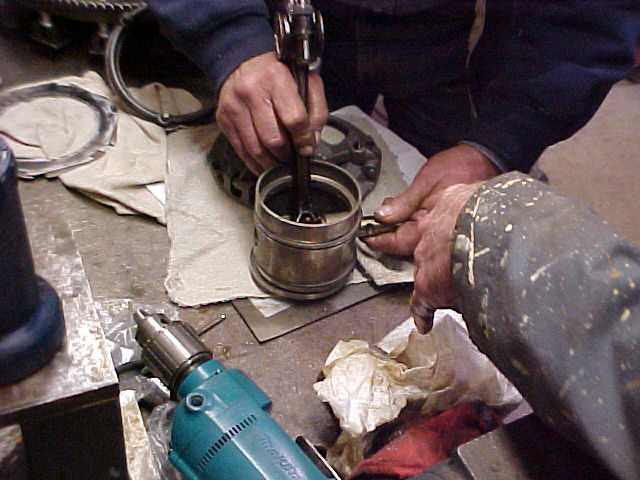
Installing a Wrist Pin
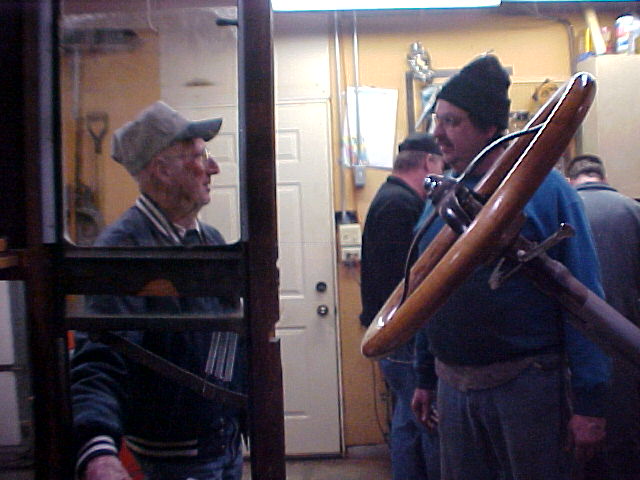
Ott and Tim discussing the interior of the coupe
New Parts in the pssenger door

Interior Side Panel in Place
April 2, 2009
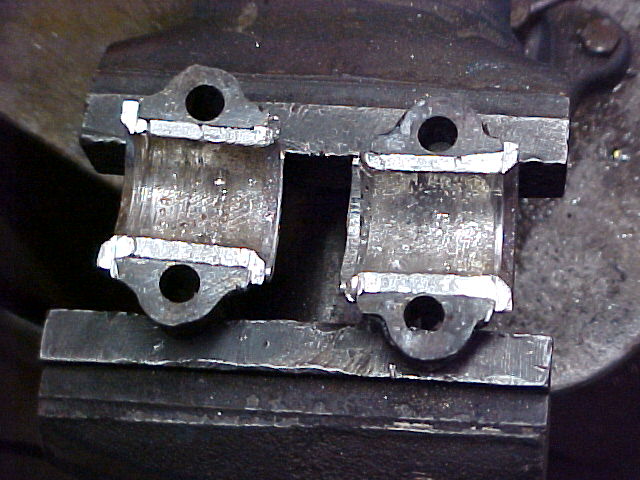
No 1 Rod, good contact area
No1 Rod Cap, good contact
No4 Rod, partial contact
Running In No 2 and 4 rod bearings